
How to Connect Projector with Streaming Devices [All Devices Guide 2023]
-
 Written by:
Kristy Roger
Written by:
Kristy Roger
- Last Updated:
Many streaming users often find themselves overwhelmed while connecting streaming devices with Projector.
Don’t worry; you’re not alone in this predicament.
By following step-by-step instructions. You can effortlessly connect streaming devices with Projector.
Whether new to projector or a seasoned user, learning to connect different streaming services and devices is essential to watch movies on projector.
How to connect projector with streaming devices? To connect projector with streaming devices like Roku, Amazon Fire TV, or Chromecast, simply plug the device into the projector’s HDMI port.
Connect the device to your Wi-Fi network, navigate to the appropriate input on the projector, and enjoy streaming your favorite content on the big screen.
I recommend using the Table of Contents to quickly access the information you need.
My article is designed to cater to home cinema users of all levels, from Beginners to Advanced enthusiasts.
Table of Contents
How to Connect Projector with Apple TV
Your simplified steps are indeed a good summary of the process of connecting a projector to an Apple TV. Here’s a bit more detail on each step:
Step 1. Check available port on Projector:
Examine the projector’s input ports (e.g., HDMI, VGA, DVI) to determine which one you’ll use to connect the Apple TV. Make sure it matches the cable or adapter you have.
Step 2. Check available ports on Apple TV
Locate the HDMI output port on the Apple TV.
Step 3. Get the required adapter
If the projector and Apple TV have different types of ports (e.g., HDMI on Apple TV and VGA on the projector), you may need an appropriate adapter or cable to connect them. Always ensure you have all the necessary cables and adapters before starting the connection process. I once forgot my HDMI cable and had to postpone a movie night!
Step 4. Connect the adapter with projector and Apple TV:
Plug one end of the cable into the Apple TV’s HDMI output or the appropriate port.
Plug the other end into the corresponding input port on the projector or the adapter if necessary.
From personal experience, I’ve found that investing in a high-quality adapter can save a lot of hassle in the long run.
Step 5. Power On Both Devices:
Turn on the projector and the Apple TV by pressing their respective power buttons. Make sure they are properly powered and ready.
Step 6. Select the Correct Input Source
Use the projector’s remote control or on-screen menu to select the input source that corresponds to the port where you connected the Apple TV. For example, if you used HDMI, select the HDMI input on the projector.
These steps cover the fundamental process of connecting and configuring the Apple TV with a projector. After completing these steps, you should be able to use your Apple TV to display content on the projector. Remember to adjust any settings or preferences as needed to optimize the viewing experience.
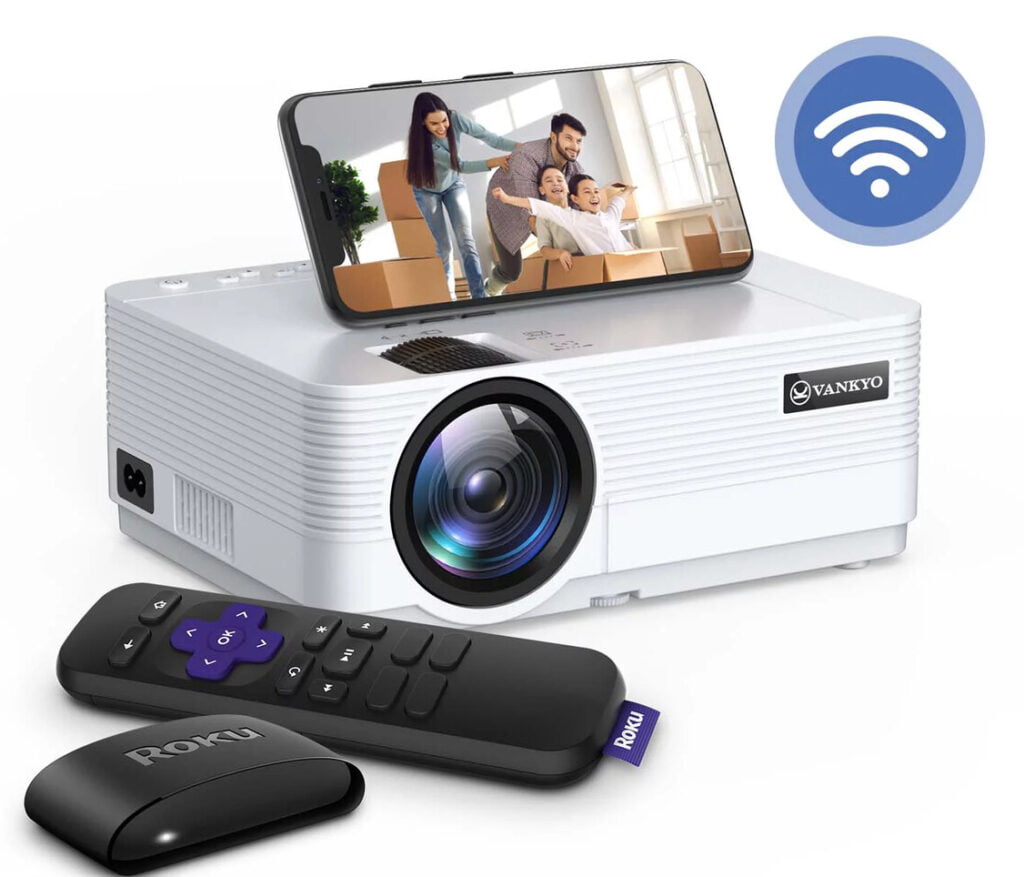
How to Connect Projector with Roku
Connecting a projector to a Roku Stick is similar to connecting it to an Apple TV or any other streaming device. You’ll need the appropriate cables or adapters and access to power sources for both the projector and the Roku Stick. Here are the general steps:
Step 1. Gather the Necessary Equipment
A projector with the necessary input ports (HDMI, VGA, etc.).
A Roku Stick (any model that has an HDMI output).
An HDMI cable (for best quality) or other compatible video cable, depending on the projector’s input options.
Power cables for the projector and Roku Stick.
Step 2. Connect the Roku Stick to the Projector
Plug the Roku Stick into the HDMI port on your projector. Some projectors have built-in HDMI ports, while others may require an HDMI-to-VGA adapter if they lack HDMI support.
Step 3. Power On Both Devices
Turn on the projector by pressing its power button.
Connect the Roku Stick to a power source using the provided power cable and adapter. Some Roku Sticks can draw power from the projector’s HDMI port if it supports Mobile High-Definition Link (MHL).
Step 4. Select the Correct Input Source
Use the projector’s remote control or on-screen menu to select the input source where you connected the Roku Stick. For example, if you used HDMI, select the HDMI input on the projector.
Step 5. Set Up the Roku Stick
Once the Roku Stick is powered on, it will guide you through the initial setup process on your projector screen. This includes selecting your language, connecting to a Wi-Fi network, and linking your Roku account.
Step 6. Enjoy Your Content
After the setup is complete, you can use the Roku Stick to stream content, install apps, and access various streaming services on your projector.
Step 7. Adjust Settings (if necessary)
Depending on your preferences and the projector’s capabilities, you may need to adjust display settings on the Roku Stick, such as resolution, screen mirroring options, or audio settings.
That’s it! Your projector should now be connected to your Roku Stick, allowing you to enjoy streaming content on a larger screen. If you encounter any issues with the connection, refer to the user manuals for your specific devices or consult the manufacturer’s support resources for troubleshooting guidance.
How to Connect Projector with Firestick
Connecting a projector to an Amazon Fire TV Stick is a straightforward process. You’ll need the necessary cables or adapters and access to power sources for both the projector and the Fire TV Stick. Here are the general steps to connect them:
Step 1. Gather the Necessary Equipment
A projector with the necessary input ports (HDMI, VGA, etc.).
An Amazon Fire TV Stick (any model that has an HDMI output).
An HDMI cable (for best quality) or other compatible video cable, depending on the projector’s input options.
Power cables for the projector and Fire TV Stick.
Step 2. Connect the Fire TV Stick to the Projector
Plug the Fire TV Stick into the HDMI port on your projector. Some projectors have built-in HDMI ports, while others may require an HDMI-to-VGA adapter if they lack HDMI support.
Personal tip: If you’re planning a movie marathon, ensure your Firestick is adequately ventilated. I once had mine overheat during a binge-watching session!
Step 3. Power On Both Devices
Turn on the projector by pressing its power button.
Connect the Fire TV Stick to a power source using the provided power cable and adapter. The Fire TV Stick typically comes with a USB power adapter that you can plug into a wall outlet or a USB port on the projector if available.
Step 4. Select the Correct Input Source
Use the projector’s remote control or on-screen menu to select the input source where you connected the Fire TV Stick. For example, if you used HDMI, select the HDMI input on the projector.
Step 5. Set Up the Fire TV Stick
Once the Fire TV Stick is powered on, it will guide you through the initial setup process on your projector screen. This includes selecting your language, connecting to a Wi-Fi network, and logging in with your Amazon account.
Step 6. Enjoy Your Content
After the setup is complete, you can use the Fire TV Stick to stream content, install apps, and access various streaming services on your projector.
Personal Advice: Always update your Firestick to the latest software version for the best streaming experience on a projector.
Step 7. Adjust Settings (if necessary)
Depending on your preferences and the projector’s capabilities, you may need to adjust display settings on the Fire TV Stick, such as resolution, screen mirroring options, or audio settings.
That’s it! Your projector should now be connected to your Fire TV Stick, allowing you to enjoy streaming content on a larger screen. If you encounter any issues with the connection, refer to the user manuals for your specific devices or consult the manufacturer’s support resources for troubleshooting guidance.
How to Connect Projector with Amazon Fire TV Cube
Your simplified steps provide a clear and concise guide to connecting a projector with an Amazon Fire TV Cube. Here’s a bit more detail on each step:
Step 1. Check available port on Projector
Examine the projector’s input ports (e.g., HDMI, VGA, DVI) to determine which one you’ll use to connect the Amazon Fire TV Cube. Make sure it matches the cable or adapter you have.
Step 2. Check available port on Amazon Fire TV Cube
Locate the HDMI output port on the Amazon Fire TV Cube.
Step 3. Get the required adapter
If the projector and Amazon Fire TV Cube have different types of ports (e.g., HDMI on the Fire TV Cube and VGA on the projector), you may need an appropriate adapter or cable to connect them. Ensure you have the right one.
Step 4. Connect the adapter with projector and Amazon Fire TV Cube
Plug one end of the cable into the Amazon Fire TV Cube’s HDMI output or the appropriate port.
Plug the other end into the corresponding input port on the projector or the adapter if necessary.
Step 5. Power On Both Devices
Turn on the projector by pressing its power button.
Connect the power cable to the Amazon Fire TV Cube and plug it into a power source.
Step 6. Select the Correct Input Source
Use the projector’s remote control or on-screen menu to select the input source where you connected the Amazon Fire TV Cube. For example, if you used HDMI, select the HDMI input on the projector.
These steps should allow you to successfully connect your Amazon Fire TV Cube to your projector, enabling you to enjoy streaming content on a larger screen.
Personal Tip: The Fire TV Cube offers voice control. It’s a game-changer for me, especially when I’m too lazy to find the remote!
How to Connect Projector with Google Chromecast
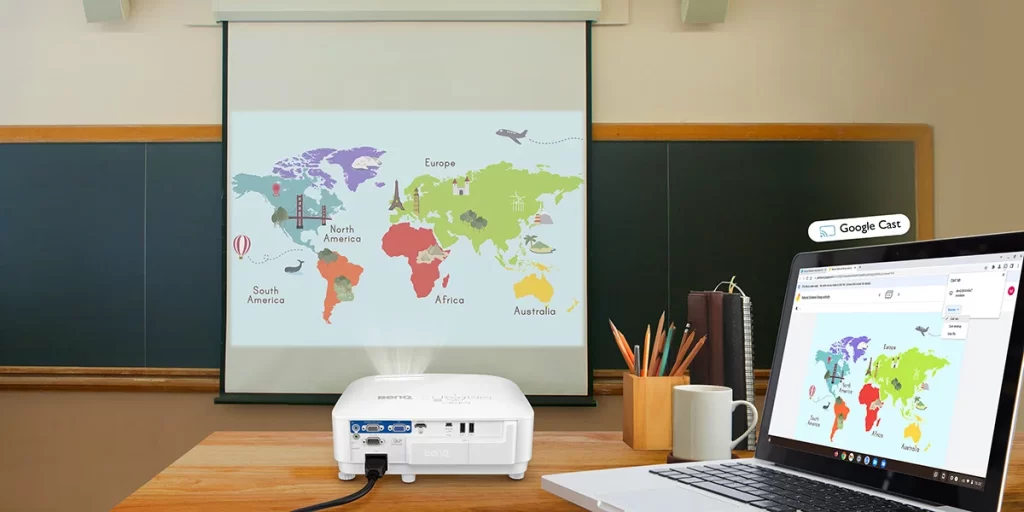
Connecting a projector to a Google Chromecast is a straightforward process. You’ll need the necessary cables or adapters and access to power sources for both the projector and the Chromecast. Here are the general steps to connect them:
Step 1. Gather the Necessary Equipment
- A projector with the necessary input ports (HDMI, VGA, etc.).
- A Google Chromecast device (Chromecast, Chromecast Ultra, or Chromecast with Google TV).
- An HDMI cable (for best quality) or other compatible video cable, depending on the projector’s input options.
- Power cables for the projector and Chromecast (if necessary).
Step 2. Connect the Chromecast to the Projector
- Plug the Chromecast into an available HDMI port on your projector. If your projector only has VGA or other non-HDMI ports, you will need an HDMI-to-VGA or HDMI-to-other-adapter.
Step 3. Power On Both Devices
- Turn on the projector by pressing its power button.
- Connect the Chromecast to a power source using the provided power cable and adapter. Some Chromecast models can draw power from the projector’s HDMI port if it supports Mobile High-Definition Link (MHL).
Step 4. Set Up the Chromecast
Once the Chromecast is powered on, it will guide you through the initial setup process on your projector screen. Follow the on-screen instructions, including connecting the Chromecast to your Wi-Fi network and configuring it with the Google Home app on your mobile device.
Step 5. Cast Content to the Projector
After completing the setup, you can use compatible apps on your smartphone, tablet, or computer to cast content to the projector via the Chromecast. Make sure both the casting device and the Chromecast are connected to the same Wi-Fi network.
A tip from my side: If you’re casting from a phone or tablet, ensure it’s charged. I once had my phone die mid-movie, and it was quite the scramble!
Step 6. Adjust Settings (if necessary)
Depending on your preferences and the projector’s capabilities, you may need to adjust display settings on your casting device to optimize the viewing experience.
That’s it! Your projector should now be connected to your Google Chromecast, allowing you to cast content from various apps and services to the projector screen. If you encounter any issues with the connection or casting, consult the user manuals for your specific devices or Google’s support resources for troubleshooting guidance.
How to Connect Projector with Nvidia Shield TV Pro
Your simplified steps provide a clear and concise guide to connecting a projector with an NVIDIA Shield TV Pro. Here’s a bit more detail on each step:
Step 1. Check available ports on Projector
Examine the projector’s input ports (e.g., HDMI, VGA, DVI) to determine which one you’ll use to connect the NVIDIA Shield TV Pro. Make sure it matches the cable or adapter you have.
Step 2. Check available port on NVIDIA Shield TV Pro
Locate the HDMI output port on the NVIDIA Shield TV Pro.
Step 3. Get the required adapter:
If the projector and NVIDIA Shield TV Pro have different types of ports (e.g., HDMI on the Shield TV Pro and VGA on the projector), you may need an appropriate adapter or cable to connect them. Ensure you have the right one.
Step 4. Connect the adapter with projector and NVIDIA Shield TV Pro
- Plug one end of the cable into the NVIDIA Shield TV Pro’s HDMI output or the appropriate port.
- Plug the other end into the corresponding input port on the projector or the adapter if necessary.
Step 5. Power On Both Devices
- Turn on the projector by pressing its power button.
- Connect the power cable to the NVIDIA Shield TV Pro and plug it into a power source.
Step 6. Select the Correct Input Source
Use the projector’s remote control or on-screen menu to select the input source where you connected the NVIDIA Shield TV Pro. For example, if you used HDMI, select the HDMI input on the projector.
Following these steps should allow you to successfully connect your NVIDIA Shield TV Pro to your projector, enabling you to enjoy streaming, gaming, and other features on a larger screen. Remember to adjust any settings or preferences as needed to optimize your viewing experience. If you encounter any issues with the connection, consult the user manuals for your specific devices or NVIDIA’s support resources for troubleshooting guidance.
Are there Budget-Friendly Options for High-Resolution Projectors?
I’ve often wondered if there are any wallet-friendly choices for projectors with high resolutions. So, I did a bit of digging, and the answer is yes! There are definitely budget-friendly options out there that offer impressive high resolutions.
I looked into different brands and models, and I came across the HAPPRUN 1080p projector, which is quite budget-friendly, ranging from around $135 to $150.
What caught my attention is that it even includes a 100-inch screen – talk about value! This projector delivers good resolution without breaking the bank.
It also supports various connection options like smartphones, HDMI, USB, AV, Fire Stick, and even PS5. This makes it a versatile choice for different entertainment needs.
It’s reassuring to know that I don’t necessarily have to spend a fortune to experience high-resolution visuals. The HAPPRUN projector seems like a solid option for those looking for quality without a hefty price tag.
So, if you’re on the hunt for budget-friendly high-resolution projectors, this one could definitely be worth considering.
Final Thoughts on “Connect Projector with Streaming Devices”
Connecting a projector to various streaming and media devices, such as Apple TV, Roku Stick, Amazon Fire TV Cube, Google Chromecast, or NVIDIA Shield TV Pro, involves a straightforward process that primarily includes identifying compatible ports, obtaining the necessary adapters if required, connecting the devices with appropriate cables, powering them on, and selecting the correct input source on the projector.
These steps allow users to unlock a world of entertainment and multimedia experiences on larger screens, making it accessible and enjoyable for various applications, from streaming content and gaming to presentations and more. Troubleshooting may be necessary in case of connectivity issues, but overall, the process is accessible and user-friendly.
Author of this Post:

Kristy Roger
Home Cinema Consultant & Tech Enthusiast
Holding a background in Industrial and Electrical Technology from the University of Alberta, Kristy has spent 5+ years consulting on home theater products at a top electronics firm. As a certified Technical Professional with Lean Six Sigma credentials, Kristy expertise ranges from projector nuances to hands-on experience with leading models. Kristy have been sharing her knowledge online for two years, blending professional insights with personal experiences from her own home cinema setup. Off the screen, She is a dedicated mom to Jerry, Ryan, and our two pups, Cuddle and Paw.


