
6 Methods To Project Mobile Screen On Wall Without Projector?
-
 Written by:
Kristy Roger
Written by:
Kristy Roger
- Last Updated:
Are you curious to project mobile screen on wall without projector?
But don’t know how it is possible?
But fear not! In this guide, I’ll walk you my personal favourite creative solutions to project your mobile screen without the need for a traditional projector.
From utilizing smart TV features to crafting a DIY projector, I’ve got you covered.
Ready to make your mobile screen larger than life? Let’s get started!
I recommend using the Table of Contents to quickly access the information you need.
My article is designed to cater to home cinema users of all levels, from Beginners to Advanced enthusiasts.
Table of Contents
Different Methods To Project Mobile Screen On Wall Without Projector
I’ve experimented with various methods to project a mobile screen on a wall without a traditional projector. Let me share some of these methods with you:
1. Using a Smart TV or Streaming Device
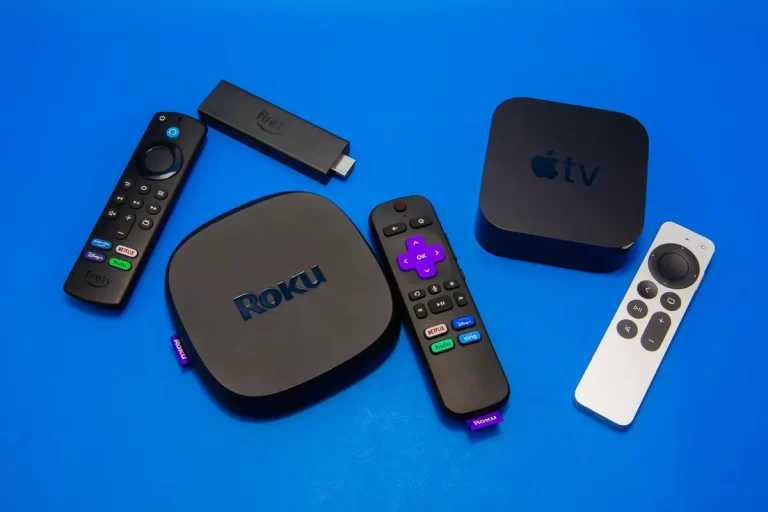
In my home cinema, I often rely on my Smart TV or streaming devices. Here’s how you can do it:
Step 1: Ensure your mobile device and Smart TV or streaming device are connected to the same Wi-Fi network.
Step 2: On your mobile device, navigate to the screen mirroring or casting feature. This could be labeled as “Screen Mirroring,” “Cast Screen,” or similar, depending on your device.
Step 3: Select your Smart TV or streaming device from the list, and your mobile screen should be mirrored on the big screen.
2. Using a Cable Connection
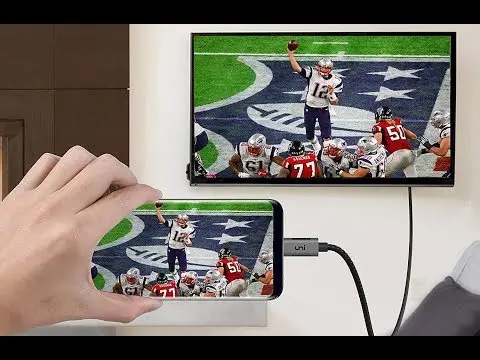
Cable connections are a reliable way to project your mobile screen. Here’s what I do:
Step 1: Get the right cable or adapter for your mobile device. For example, an HDMI to USB-C or HDMI to micro USB adapter for Android, or a Lightning to HDMI adapter for iOS.
Step 2: Connect one end of the adapter to your mobile device and the other end to an HDMI cable.
Step 3: Plug the HDMI cable into a TV or monitor with an available HDMI port.
Step 4: Switch your TV to the correct HDMI input source, and your mobile screen will be displayed.
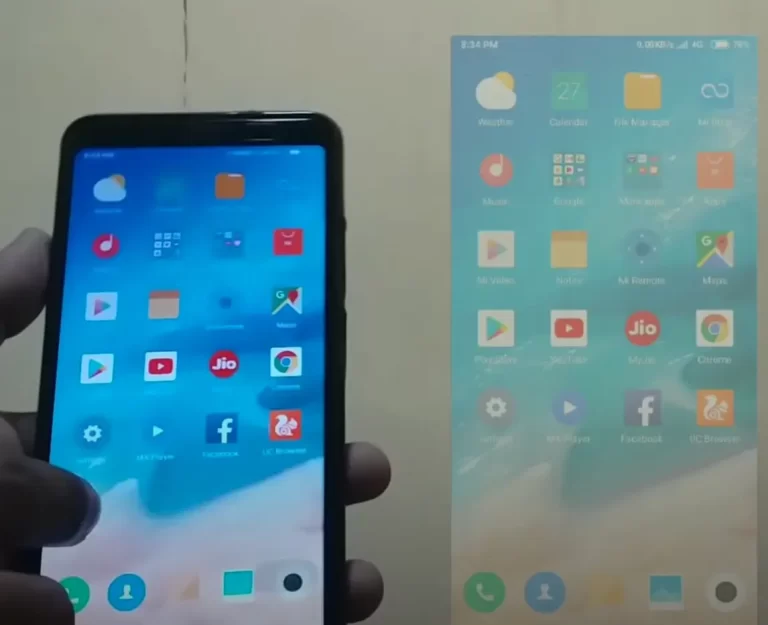
3. Wireless Screen Mirroring
I’ve found wireless screen mirroring to be quite convenient. Here are some approaches:
Chromecast or Miracast: If you have a Chromecast or a Miracast-enabled TV, you can easily cast your mobile screen onto the TV. Just make sure both devices are on the same Wi-Fi network.
DLNA or AirPlay: Some modern TVs support DLNA or Apple’s AirPlay. If your TV and mobile support these protocols, you can use them for screen mirroring.
4. Using Screen Mirroring Apps
I’ve experimented with a few screen mirroring apps too. These apps are available for both Android and iOS devices. Here’s how it’s done:
Step 1: Download and install a screen mirroring app from your device’s app store. I’ve used apps like “Screen Mirroring” for Android and “AirBeamTV” for iOS.
Step 2: Make sure your mobile device and the target display are on the same Wi-Fi network.
Step 3: Open the app and follow the on-screen instructions to connect your mobile device to the display.
5. Using a Camera Flashlight
In a pinch, I’ve tried using a camera flashlight to project my mobile screen onto a wall. Here’s how it’s done:
Step 1: Find a dark room where you can control the lighting. This method works best in low light conditions.
Step 2: Open the content you want to project on your mobile screen.
Step 3: Turn on the flashlight of another device (like a digital camera or a second mobile phone).
Step 4: Hold the flashlight close to the back of your mobile device, aligning it with the camera lens. Make sure the flashlight beam hits the screen evenly.
Step 5: Aim the light towards the wall, adjusting the distance and angle until you get a clear projection.
While this method isn’t as high-quality as using a projector, it can be a fun and creative solution for impromptu situations.
6. DIY Projector
Building a DIY projector can be a rewarding and cost-effective way to project your mobile screen onto a wall. I’ve personally built a few of these in my home cinema. Here’s a simplified guide:
Materials Needed:
- Shoebox or small cardboard box
- Magnifying glass or lens
- Duct tape or adhesive putty
- Smartphone stand or holder
Step-by-Step:
- Cut a hole in one end of the box, slightly smaller than the size of your magnifying glass or lens.
- Attach the magnifying glass or lens securely over the hole using duct tape or adhesive putty. This will act as your projector lens.
- Create a stand or holder for your mobile device inside the box, ensuring it’s positioned to align with the lens.
- Darken the room and place the box on a stable surface.
- Play content on your mobile device and adjust the focus by moving the device or the box until you achieve a clear projection on the wall.
Keep in mind that the quality of a DIY projector may not match that of commercial projectors, but it can be a fun and educational project. Plus, it’s a great way to improvise when you don’t have access to a projector.
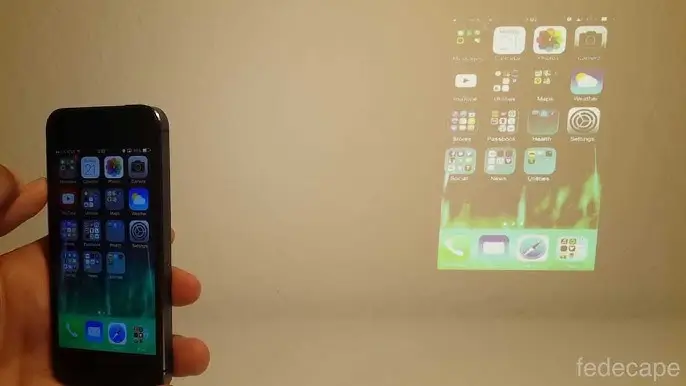
How To Project Mobile Screen On Wall With Projector App?
Using a projector app to project your mobile screen on a wall is a convenient solution when you don’t have access to a traditional projector. Here’s a step-by-step guide:
Step 1: Choose a Suitable Projector App
There are several apps available on both Android and iOS platforms that allow you to use your mobile device as a projector. Some popular options include “Screen Mirroring” for Android and “AirBeamTV” for iOS.
Step 2: Download and Install the App
Go to your device’s app store (Google Play Store for Android, App Store for iOS).
Search for the projector app you’ve chosen and download it.
Step 3: Ensure Both Devices are on the Same Wi-Fi Network
This is crucial for the app to work. Make sure your mobile device and the device you want to project to (e.g., smart TV, computer, or another mobile device) are connected to the same Wi-Fi network.
Step 4: Open the App and Follow On-Screen Instructions
Launch the projector app on your mobile device.
The app will typically guide you through the steps. This may involve granting necessary permissions and selecting the device you want to connect to.
Step 5: Connect to the Display Device
On the app, you should see a list of available devices. Choose the device you want to project to (e.g., a smart TV, computer, or another mobile device).
Step 6: Initiate Screen Projection
Once you’ve selected the device, the app should initiate the screen projection process. Your mobile screen should now be displayed on the selected device.
Step 7: Adjust Settings (if necessary)
Depending on the app, you might have options to tweak the display settings for optimal projection.
Step 8: Enjoy Your Mobile Screen on the Wall
You should now be able to see your mobile screen on the wall or the display you’ve chosen.
How To Project Mobile Screen On Wall With Flashlight?
Projecting a mobile screen on a wall using a flashlight is a clever DIY solution that can work in a pinch. Here’s how you can do it:
Materials Needed:
- A dark room or low-light environment.
- A mobile device with the content you want to project.
- Another device with a strong flashlight (e.g., a digital camera or a second mobile phone).
Step 1: Set Up the Dark Room
Find a room where you can control the lighting. The darker the room, the clearer the projection will be.
Step 2: Prepare Your Mobile Device
Open the content you want to project on your mobile screen. This could be a video, image, or any other visual content.
Step 3: Turn On the Flashlight
Turn on the flashlight of the second device. This flashlight will act as your light source for the projection.
Step 4: Position the Devices
Hold your mobile device in one hand with the screen facing up. Position it at a slight angle so that the screen faces the wall you want to project onto.
Hold the device with the flashlight in your other hand. Align the flashlight with the camera lens of your mobile device. The flashlight should be close to the back of your mobile device.
Step 5: Adjust the Angle and Distance
Play around with the angle and distance between the flashlight and your mobile device. The goal is to ensure that the flashlight beam hits the screen evenly.
Step 6: Aim at the Wall
Point the flashlight towards the wall. You should start to see the content from your mobile screen being projected onto the wall.
Step 7: Focus and Fine-Tune
Adjust the position of the devices and the angle of the flashlight until you achieve a clear and focused projection. It might take a bit of trial and error to get it just right.
Keep in mind that this method is more of a makeshift solution and won’t provide the same clarity and brightness as a traditional projector. It’s best used for quick, impromptu situations.
This DIY approach can be a fun way to improvise a projection when you don’t have access to a projector. It’s a great example of how a little creativity can go a long way!
Frequently Asked Questions (FAQs)
Can I Use A Projector To Project My Phone Screen?
Most modern projectors have the capability to connect to mobile devices. However, it’s important to ensure that your projector has the necessary ports or wireless capabilities to establish a connection with your phone.
Can I Use A Computer Monitor To Project My Phone Screen?
Yes, you can use a computer monitor to project your phone screen.
Connect your phone to the monitor using an appropriate cable or adapter, or use a wireless connection if both devices support it. Select the correct input source on the monitor, and your phone’s screen will be displayed on the monitor.
Where Should I Place My Diy Projector For Projection?
Place your DIY projector on a stable surface, ensuring it’s at an optimal distance from the projection wall. Experiment with the distance and angle to achieve the clearest and largest image.
Additionally, ensure the room is adequately darkened for the best projection quality.
Why Is My Homemade Projector Blurry?
A homemade projector may be blurry due to several reasons.
It could be related to the focus of the lens, improper alignment of the lens and screen, or inadequate lighting conditions in the room.
Additionally, the quality of materials used in the DIY setup can also affect image clarity. Adjust the focus, angle, and lighting to improve the projection quality.
How Do You Make A Homemade Projector Clearer?
To make a homemade projector clearer, ensure the lens is clean and free from smudges or dust. Experiment with the distance between the lens and the projection surface to find the optimal focus.
Use a high-quality magnifying lens for better clarity and ensure the room is adequately darkened for improved image quality.
Conclusion
We’ve explored a variety of ingenious methods to project your mobile screen on a wall without the need for a traditional projector. Whether it’s leveraging the capabilities of smart TVs, creating a DIY projector, or using a screen mirroring app, there’s no shortage of inventive solutions.
Remember, it’s not about the tools you have, but the creativity you bring to the table. And who knows, you might discover a new favorite method of your own!
So, the next time you find yourself in need of a larger-than-life display, you’ll have a repertoire of techniques at your disposal. Don’t limit yourself – explore, experiment, and find what works best for you. And always remember, sometimes the most extraordinary solutions can arise from the simplest of situations.
Ready to embark on your own mobile screen projection adventure? The possibilities are endless. Happy projecting!
Author of this Post:

Kristy Roger
Home Cinema Consultant & Tech Enthusiast
Holding a background in Industrial and Electrical Technology from the University of Alberta, Kristy has spent 5+ years consulting on home theater products at a top electronics firm. As a certified Technical Professional with Lean Six Sigma credentials, Kristy expertise ranges from projector nuances to hands-on experience with leading models. Kristy have been sharing her knowledge online for two years, blending professional insights with personal experiences from her own home cinema setup. Off the screen, She is a dedicated mom to Jerry, Ryan, and our two pups, Cuddle and Paw.


