How to Fix Ripped Projector Screen [3 Easy Methods]
-
 Written by:
Kristy Roger
- Last Updated:
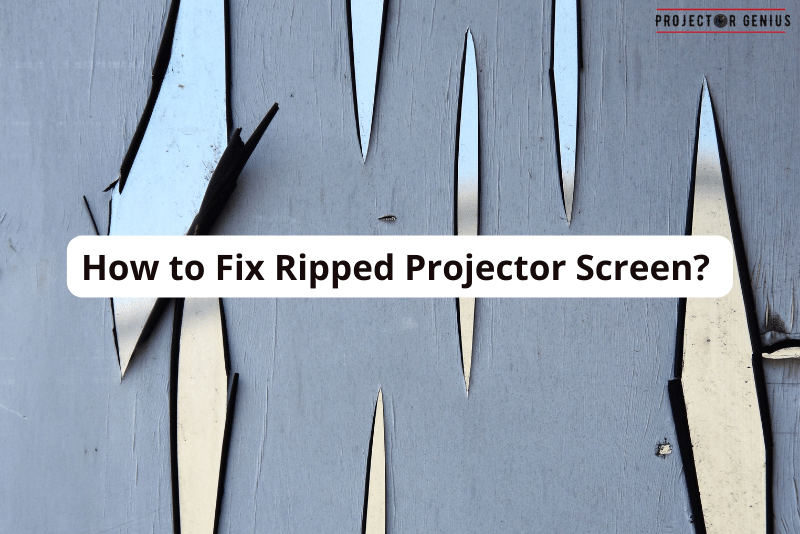
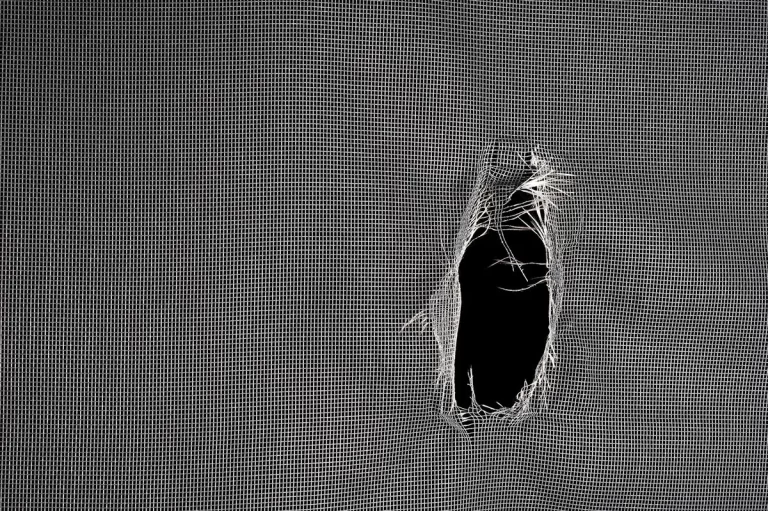
Have you ever found yourself facing a torn projector screen, but don’t know how to fix ripped Projector screen?
Many of us encounter this situation for a multitude of reasons – from cost-saving endeavours and environmental concerns to preserving sentimental favorites or ensuring an uninterrupted presentation.
In this guide, we’ll uncover the following methods and techniques to fix those unsightly rips:
- Tape Repair (for Minor Tears)
- Patch Repair ( for Larger Tears)
- Sewing Repair ( for Fabric Screens)
Let’s get repairing!
I recommend using the Table of Contents to quickly access the information you need.
My article is designed to cater to home cinema users of all levels, from Beginners to Advanced enthusiasts.
Table of Contents
Method 1: Tape Repair (for Minor Tears)
- Tape repair is a simple and quick method to fix minor tears or small rips in your projector screen.
- Here’s a detailed explanation of how to perform this repair:
Materials Needed
- Clean, lint-free cloth
- Clear adhesive tape (transparent packing tape is suitable)
- Scissors
Step 1: Clean the Torn Area
- Begin by ensuring the projector screen is free from any loose dust, dirt, or debris. This step is essential to create a clean surface for the tape to adhere to.
- Use a clean, lint-free cloth to gently wipe the torn area. Be careful not to apply too much pressure, as this might worsen the tear.
Step 2: Prepare the Tape
- Cut a piece of clear adhesive tape that is long enough to cover the entire length of the tear with some overlap on each side. Ensure the tape is clean and free from wrinkles or creases.
Step 3: Apply the Tape
- Carefully position the adhesive tape over the torn area, ensuring that it spans the entire length of the tear.
- Gently press down on the tape, starting from one end and moving toward the other. The idea is to adhere the tape securely to both sides of the screen, effectively sealing the tear.
Step 4: Trim Excess Tape
- Once the tape is securely in place, take a pair of scissors and trim any excess tape from the edges. This helps create a neat and inconspicuous repair.
Step 5: Smooth Out Air Bubbles
- After applying the tape, check for any air bubbles or wrinkles in the tape. If you notice any, gently smooth them out with your fingers to ensure the tape lies flat against the screen.
Step 6: Test the Screen
- Allow a moment for the tape to bond with the screen surface. Afterward, you can test the screen by projecting an image onto it to ensure there are no visual distortions or issues.
- Tape repair is suitable for small tears or minor damage to your projector screen. While it may not completely restore the screen to its original condition, it can effectively prevent the tear from worsening and impacting your viewing experience.
- If you have a larger tear or one that affects the screen’s performance significantly, you may need to consider more extensive repairs or replacement.
If you’ve ever dealt with a blurry projector screen, you know how frustrating it can be. Fortunately, there are solutions available. Check out our guide on How to Fix Blurry Projector Screen.
Method 2: Patch Repair (for Larger Tears)
- Patch repair is a method used for larger tears or damage on your projector screen. It involves applying a patch of the same material as your screen or a compatible repair patch to cover the damaged area. Here’s a detailed explanation of how to perform a patch repair:
Materials Needed
- Clean, lint-free cloth
- Patch material (same as your screen or compatible repair patch)
- Strong adhesive (fabric glue or screen repair adhesive)
- Clamps or heavy books (optional)
- Scissors
Step 1: Clean the Torn Area
- Start by ensuring the projector screen is clean and free from any loose dust, dirt, or debris just as in the tape repair method.
- Gently wipe the torn area with a clean, lint-free cloth to prepare the surface for repair.
Step 2: Obtain the Patch Material
- You will need a piece of patch material. Ideally, this should be the same material as your projector screen. If you don’t have the same material, choose a compatible repair patch that closely matches the screen’s properties.
Step 3: Apply Adhesive to the Patch
- Flip the patch material to its backside.
- Apply a generous amount of strong adhesive, such as fabric glue or screen repair adhesive, to the back of the patch. Make sure the adhesive is evenly spread.
Step 4: Position the Patch
- Carefully position the adhesive-coated side of the patch over the torn area on the screen. Ensure that it fully covers the damaged portion.
Step 5: Press and Hold
- Press down firmly on the patch to ensure it adheres securely to the screen. You can use your hands, a clean cloth, or a roller to apply even pressure.
- Follow the instructions on the adhesive product you used, as some adhesives may require specific drying times or additional steps.
Step 6: Allow for Drying
- After applying the patch, allow it ample time to dry and bond with the screen surface. This drying time may vary depending on the adhesive used, so refer to the product’s instructions.
- You can place clamps or heavy books on top of the patch to ensure it remains flat and securely attached during the drying process.
Step 7: Test the Screen
- Once the patch has fully dried and adhered to the screen, test the screen by projecting an image to check for any visual distortions or issues.
- Patch repair is a more robust solution suitable for larger tears or significant damage to your projector screen. It effectively covers and reinforces the damaged area, helping to restore the screen’s functionality and image quality.
Method 3: Sewing Repair (for Fabric Screens)
- Sewing repair is a method specifically used for fabric projector screens. This technique involves sewing the torn area back together with strong, thin thread that matches the screen’s color. Here’s a detailed explanation of how to perform a sewing repair for fabric screens:
Materials Needed
- Sewing needle
- Strong, thin thread that matches the screen’s color
- Scissors
Step 1: Thread the Needle
- Start by threading a sewing needle with the strong, thin thread. Ensure that the thread color closely matches the color of your fabric screen.
Step 2: Stitch the Tear
- Carefully examine the tear in your fabric screen. You’ll need to sew it back together using small, even stitches.
- Begin stitching from one end of the tear, ensuring that you pierce through both sides of the screen. This will effectively bring the torn edges back together.
- Use a simple running stitch, making small, evenly spaced stitches along the tear. Continue this stitching pattern until you reach the other end of the tear.
- Make sure to maintain consistent tension on the thread to keep the sides of the screen tightly secured together.
Step 3: Knot the Thread Securely
- When you’ve stitched the entire length of the tear, knot the thread securely on both ends. This will prevent the stitches from coming undone.
- Trim any excess thread, leaving a neat and tidy repair.
Step 4: Test the Screen
- After completing the sewing repair, test the fabric screen by projecting an image onto it. Ensure there are no visible distortions or issues with the screen’s display.
- Sewing repair is a reliable method for repairing tears in fabric projector screens. It effectively joins the torn edges of the screen back together, providing a sturdy and inconspicuous repair. This method is particularly useful for fabric screens, as it maintains the screen’s appearance and functionality.
Method 4: Professional Repair (for Extensive Damage)
- Professional repair is the recommended approach when dealing with extensive damage to a projector screen, especially if the tear is in a critical viewing area. Here’s a detailed explanation of this method:
Step 1: Assess the Extent of Damage
- Carefully examine the projector screen to determine the size and location of the tear. If the tear is large, extensive, or located in a crucial part of the screen, it’s advisable to seek professional repair.
Step 2: Find a Specialized Screen Repair Service
- Look for screen repair services that specialize in the type of screen you have. Different screens, such as fabric, vinyl, or glass, may require different repair techniques, and professionals with expertise in your screen type can provide the best solutions.
Step 3: Contact a Professional Repair Service
- Reach out to the screen repair service you’ve identified. Explain the nature of the damage and inquire about their repair options and pricing.
What is the Best Material for Projector Screen?
The best material for a projector screen depends on your specific needs and preferences. There are several common materials used for projector screens, each with its advantages and disadvantages:
White Matte Vinyl or PVC
- Advantages: It’s a versatile and affordable option. White matte screens provide good color accuracy and wide viewing angles.
- Disadvantages: They may not have the highest gain (brightness), which can be a drawback in well-lit rooms.
White Matte Fabric (Canvas)
- Advantages: Canvas screens offer excellent color accuracy and a more textured surface, which can enhance image quality.
- Disadvantages: They might require tensioning to maintain a flat surface, and they can be heavier than other materials.
Gray Screens (High Contrast)
- Advantages: Gray screens are designed to enhance contrast and black levels, making them ideal for rooms with ambient light. They can improve image quality in home theaters.
- Disadvantages: They may not provide as vibrant colors as white screens, and the viewing angles might be more limited.
Acoustically Transparent Screens
- Advantages: These screens allow you to place speakers behind the screen, providing a more immersive audio experience. They’re great for home theaters.
- Disadvantages: They can be more expensive, and the acoustic transparency may slightly affect image quality.
High Gain Screens
- Advantages: High gain screens reflect more light back to the audience, which can be beneficial in rooms with ambient light or for projectors with lower brightness.
- Disadvantages: They may have a narrower viewing angle and can exaggerate hot-spotting (brighter center of the screen).
Glass or Acrylic Screens
- Advantages: These screens offer excellent durability and can be used as a transparent or rear projection surface. They’re often used in commercial settings.
- Disadvantages: They tend to be more expensive and may not provide the same texture or warmth as fabric screens.
Inflatable Screens
- Advantages: Inflatable screens are highly portable and easy to set up, making them great for outdoor events or temporary setups.
- Disadvantages: They may not offer the same image quality as fixed screens, and they can be affected by wind.
Ultimately, the best material for your projector screen depends on factors like the room’s lighting conditions, your budget, and your specific usage (e.g., home theater, business presentations, outdoor events). Consider your priorities for image quality, contrast, and ambient light rejection when choosing the material that suits your needs best.
Can I Use Bed Sheet for Projector Screen?
Yes, you can use a bed sheet as a makeshift projector screen in a pinch, but it’s important to be aware of the advantages and limitations:
Advantages
- Cost-Effective: Bed sheets are inexpensive and readily available, making them a budget-friendly option.
- Quick Setup: You can easily hang a bed sheet on a wall or a frame for a makeshift projection surface.
- Temporary Solution: Bed sheets are suitable for temporary setups, such as movie nights or outdoor screenings.
Limitations
- Image Quality: Bed sheets are not designed for optimal image quality. They may not provide the same level of brightness, color accuracy, and contrast as dedicated projector screens.
- Texture: The texture of a bed sheet can affect image sharpness and clarity, potentially leading to a less detailed picture.
- Wrinkles and Creases: Bed sheets are prone to wrinkles and creases, which can distort the projected image. You’ll need to stretch and tension the sheet as much as possible to minimize this issue.
- Translucency: Some bed sheets may be somewhat translucent, allowing light to pass through. This can negatively impact image quality, especially in well-lit rooms.
If you’re using a bed sheet as a temporary solution, make sure it’s as taut and wrinkle-free as possible. Consider the lighting conditions and your expectations for image quality when deciding whether a bed sheet will suffice or if you should invest in a dedicated projector screen for a better viewing experience.
Is a White Sheet or Black Sheet Better for Projector Screen?
For a projector screen, a white sheet is typically a better choice than a black one. Here’s why:
White Sheet
Reflectivity: White surfaces are more reflective than black ones. When a projector projects an image onto a white surface, the light is reflected back to your eyes, creating a visible image. This is essential for displaying images and videos.
Black Sheet
Absorbent: Black surfaces absorb light rather than reflecting it. When you project onto a black surface, the light is absorbed, resulting in little to no visible image.
In summary, a white sheet is suitable for use as a makeshift projector screen because it reflects light and allows you to see the projected image. A black sheet would not work well as a projector screen because it would absorb the projected light, making the image barely visible or entirely invisible.
For those who enjoy outdoor screenings, dealing with bugs can be a hassle. Check out our tips on How to Keep Bugs Off from Projector Screen for a bug-free experience
How to Make a Projector Screen at Home?
Making a basic projector screen at home is a straightforward DIY project. Here’s a step-by-step guide on how to do it:
Materials You’ll Need
- White Cloth: You can use a white bedsheet or purchase white blackout cloth, which is a popular choice for DIY projector screens due to its high reflectivity.
- Wooden Frame: You’ll need lumber to create a frame. The dimensions will depend on your desired screen size.
- Saw: To cut the wooden frame pieces to the correct lengths.
- Screws and Screwdriver: To assemble the wooden frame.
- Staple Gun and Staples: To attach the cloth to the frame.
- Black Velvet Fabric (Optional): This is used to create a border around the screen to enhance contrast.
Steps
- Determine Screen Size: Decide on the screen size you want. Measure the wall or area where you plan to install the screen to ensure it fits comfortably.
- Cut the Frame: Using the saw, cut the lumber into four pieces (two for the horizontal sides and two for the vertical sides) to create a rectangular frame that matches your desired screen size. Make sure the corners form right angles.
- Assemble the Frame: Use screws and a screwdriver to assemble the frame. Ensure it’s sturdy and can support the weight of the cloth.
- Stretch the Cloth: Lay the white cloth flat on the ground, and place the wooden frame on top of it. Leave some excess cloth around the edges to ensure you have enough to attach to the frame.
- Attach the Cloth: Starting from one side, use a staple gun to secure the cloth to the wooden frame. Pull the cloth taut as you staple it to minimize wrinkles and creases. Work your way around all four sides, stapling at regular intervals.
- Add a Border (Optional): To enhance contrast and aesthetics, you can attach a strip of black velvet fabric around the edges of the screen. This creates a border that absorbs light and improves the perceived image quality.
- Mount the Screen: Finally, mount the screen on the wall or in the desired location. You can use wall mounts, hooks, or brackets, depending on your setup.
- Calibrate Your Projector: Once the screen is in place, calibrate your projector’s settings to ensure the best image quality. Adjust the focus, brightness, and other settings as needed.
And there you have it—a homemade projector screen ready for your movie nights or presentations.
Keep in mind that while this DIY screen is cost-effective, it may not match the quality of a professionally manufactured projector screen in terms of color accuracy and reflection properties.
However, it can still provide a satisfying viewing experience for many purposes.
Final Thoughts on How to Fix Ripped Projector Screen
A projector screen is the canvas upon which our favorite movies, presentations, and memories come to life. While a rip or tear might seem like a major setback, it’s heartening to know that with the right tools and a bit of patience, it can be mended.
Whether you opt for a DIY fix or seek professional help, the key is to address the issue promptly to prevent further damage.
Remember, the goal isn’t just to restore the screen’s functionality but to ensure that your viewing experience remains as immersive and enjoyable as ever.
After all, in the world of home cinema, it’s the little details that make the biggest difference. So, roll up your sleeves, tackle that rip, and get back to those unforgettable movie nights!
Author of this Post:

Kristy Roger
Home Cinema Consultant & Tech Enthusiast
Holding a background in Industrial and Electrical Technology from the University of Alberta, Kristy has spent 5+ years consulting on home theater products at a top electronics firm. As a certified Technical Professional with Lean Six Sigma credentials, Kristy expertise ranges from projector nuances to hands-on experience with leading models. Kristy have been sharing her knowledge online for two years, blending professional insights with personal experiences from her own home cinema setup. Off the screen, She is a dedicated mom to Jerry, Ryan, and our two pups, Cuddle and Paw.

![How to Fix Ripped Projector Screen [3 Easy Methods]](https://projectorgenius.com/wp-content/uploads/2023/10/How-to-Fix-Ripped-Projector-Screen-3-Easy-Methods--768x1024.jpeg)
